Post 1: Securing This Server!
This server got hacked… I should have known better. I wanted to create a simple website to showcase my IT skills to the world, so I thought to myself, “Wouldn’t it make sense to configure the web server myself?” I had never done that before, and it seemed like a great time to learn. And then I got hacked. So, what happened? Well, I had never run any server exposed to the public internet before. You could say I was a bit naïve. “Just use SSH and it’ll be fine, right?” Wrong. I spun up my ubuntu server, installed apache2, and let it rip. The next morning, I woke up and checked the auth.log file. I couldn’t believe how many brute-force attempts had been made to log in to my server from around the world! And one guy from Spain managed to not only crack my lengthy ssh password, but my sudo password as well. Because the server was hosted in the cloud and I didn’t have any sensitive information on it, no harm was done, but I knew for sure I wasn’t going to let my web server get hacked again. After doing a bit of research, I discovered a few simple things I needed to do to secure my server, especially ssh connections.
- 1. Prohibit Root Login:
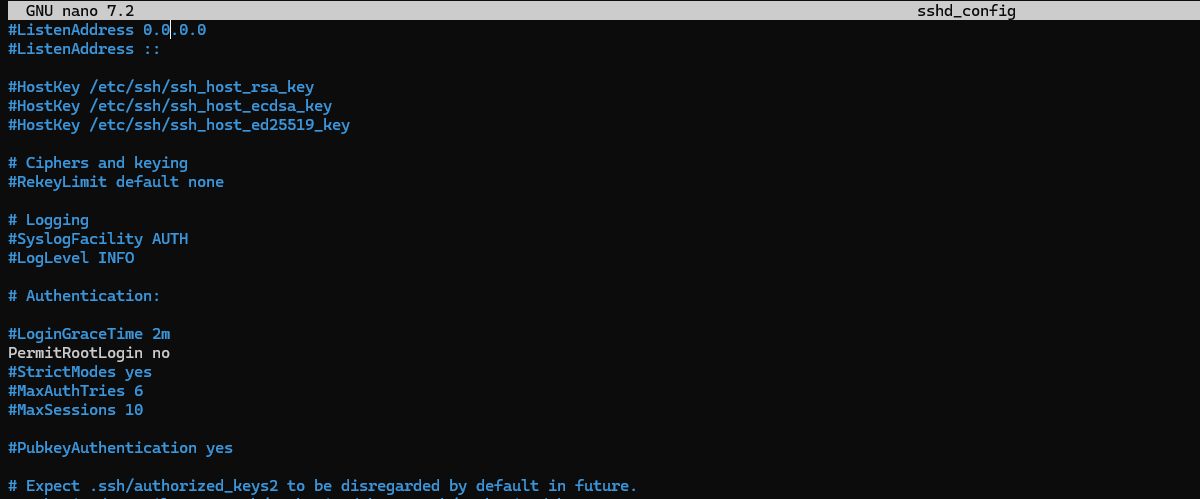
I had already done this before I got hacked, but it’s still an important step. Anyone who gets root access to my server can do whatever they want, so if no one is allowed to login as root, that provides an extra layer of security that is easily configured in the sshd_config file of my ssh directory.
- 2. Generate SSH Keys:
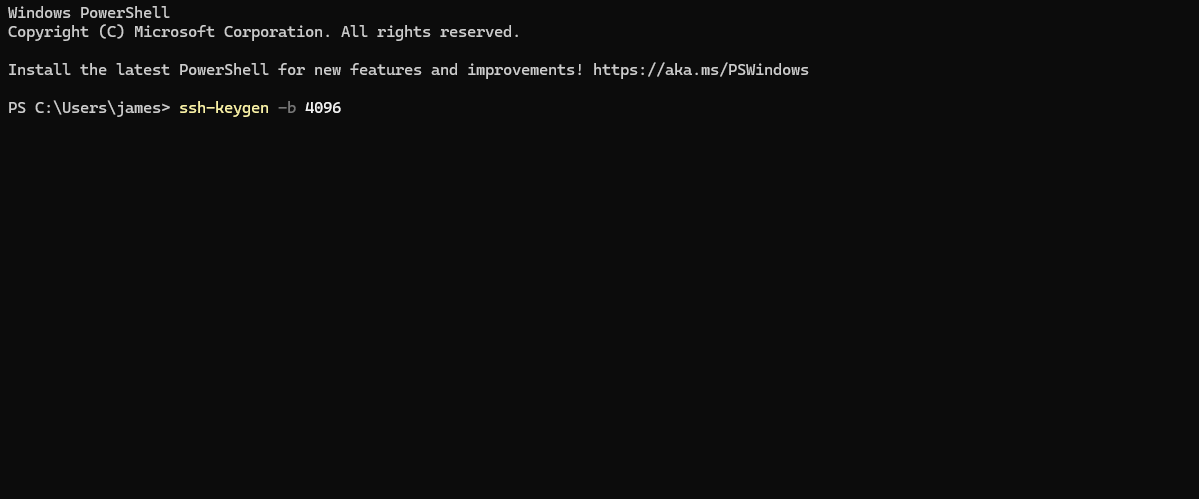
Instead of using a password to login to my server via ssh, I generated a pair of ssh keys on my windows laptop: a public key and a private key. Using secure copy protocol, I uploaded the public key to my web server's ~/.ssh directory and kept the private key on my windows laptop's ~/.ssh directory. Then, I changed another line of the sshd_config file so that password logins via ssh are no longer permitted to access my server. The only way to access my server now is with the private key, which only I have.
- 3. Change the SSH Port Number:
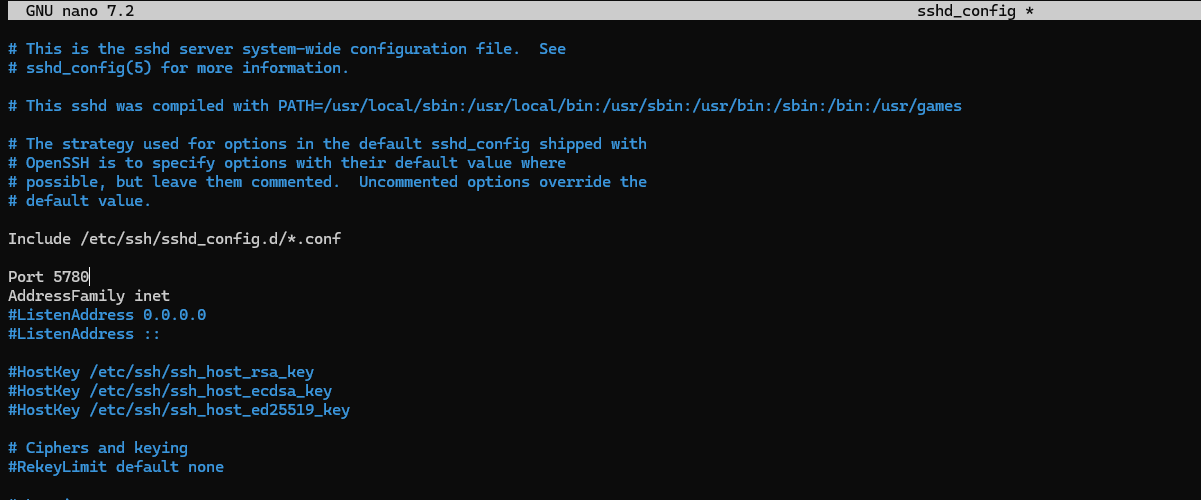
Because ssh uses port 22 by default, it’s an easy target for hackers. So, I changed the port number ssh uses to run and blocked port 22 using the uncomplicated firewall. This way, if someone scans my server for open ports, port 22 isn’t going to show up.
- 4. Firewall:
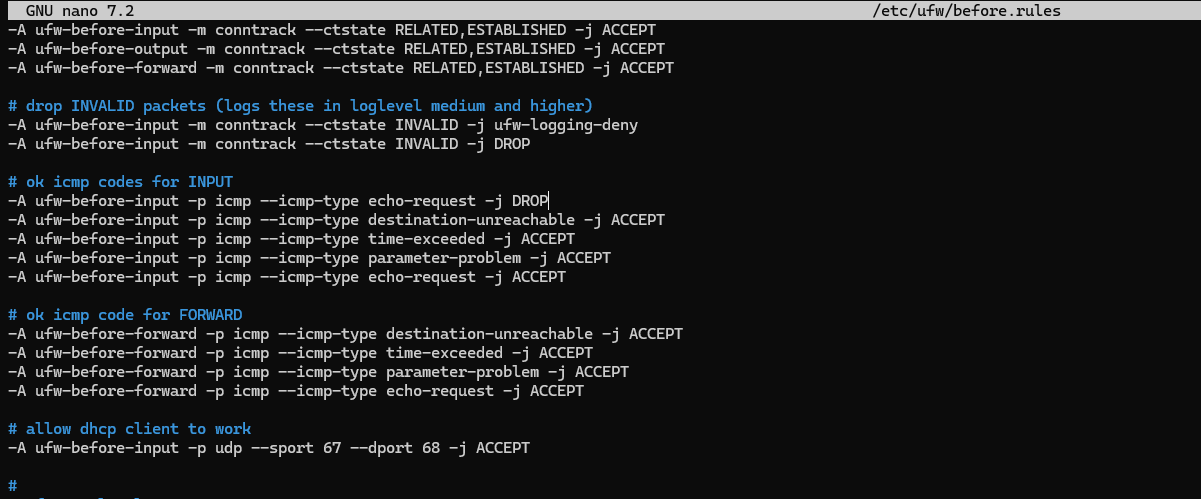
Speaking of the uncomplicated firewall, configuring that is another essential step in securing my server. I don’t want any ports allowed through my firewall that are not being used by a known service such as ssh or http. So, I allowed only those ports. In addition, I also configured the before.rules ufw file in such a way that my server will drop any icmp echo requests it receives. In effect, this means an outside host can’t ping my server.
- 5. Update! Update! Update!:
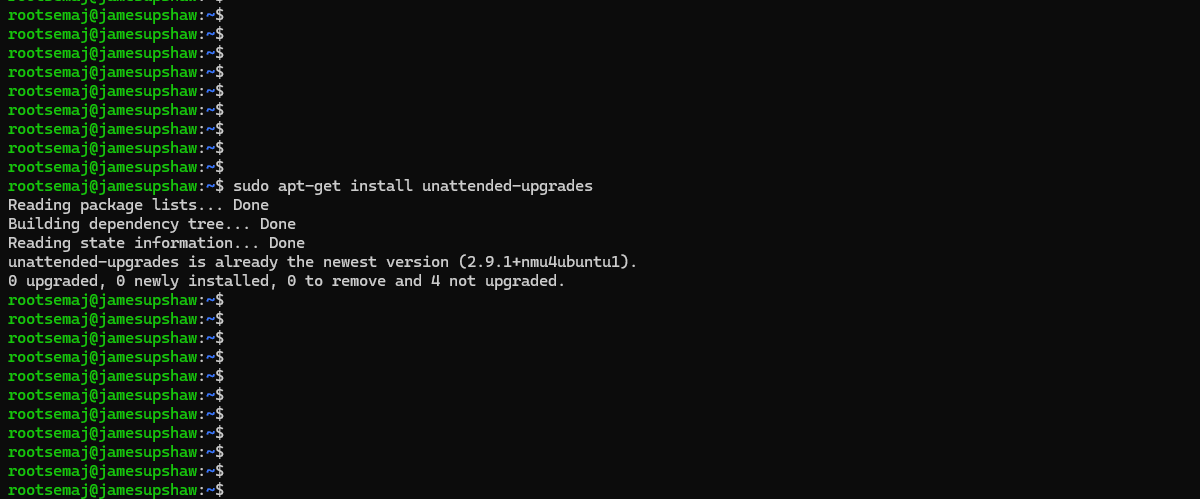
Updates are critical to securing any device, including my server. So, to save myself the hassle, I downloaded the unattended-upgrades packages on my ubuntu server. This makes it so that my server updates automatically, hopefully patching any potential vulnerabilities that could be exploited.
I’m sure there is a lot more I will do to increase security on my web server, but for now, this is a pretty solid start. Checking the auth.log again a few days after implementing these changes, and no hackers have been able to get through my defenses (though many attempts have been made). Learning how to do these 5 things has really increased my confidence in the security of my server. Thanks for reading!